If you haven’t installed and configured FlowBridge yet, you’ll need to complete that first.
Read this guide: How to Set Up FlowBridge and Connect It to Google Sheets
Step 1: Open Form Mappings
- In your WordPress dashboard, go to:
FlowBridge → Form Mappings → Add New
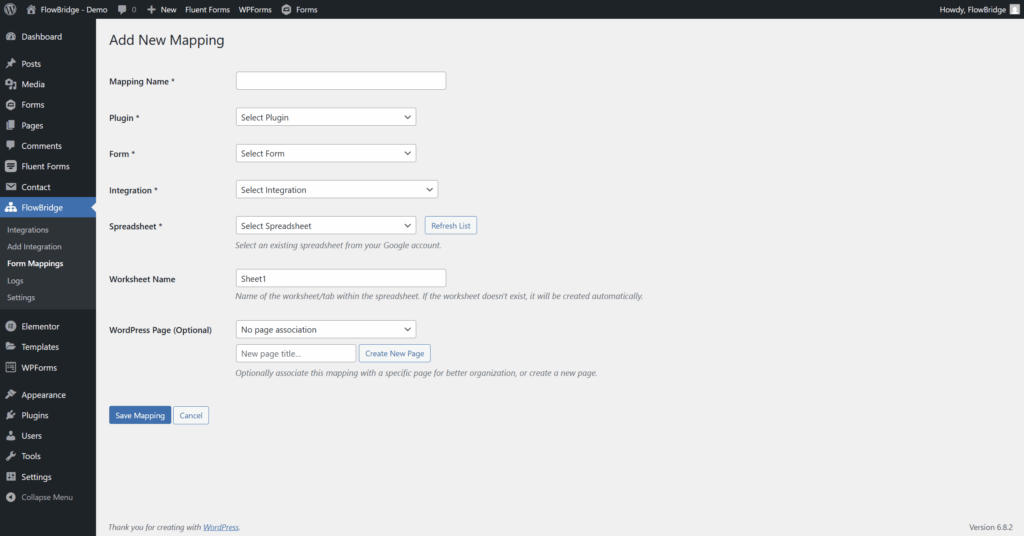
Step 2: Complete the Mapping Details
Fill in the form:
- Mapping Name – e.g., “Contact Form Submissions”
- Plugin – Select Contact Form 7
- Form – Choose your existing CF7 form
- Integration – Select your Google Service Account Integration
- Spreadsheet – Select your Google Sheet (must be shared with your Service Account)
- WorkSheet Name – Enter your Google Sheet tab name
- WordPress Page – (Optional) Select the page containing the form
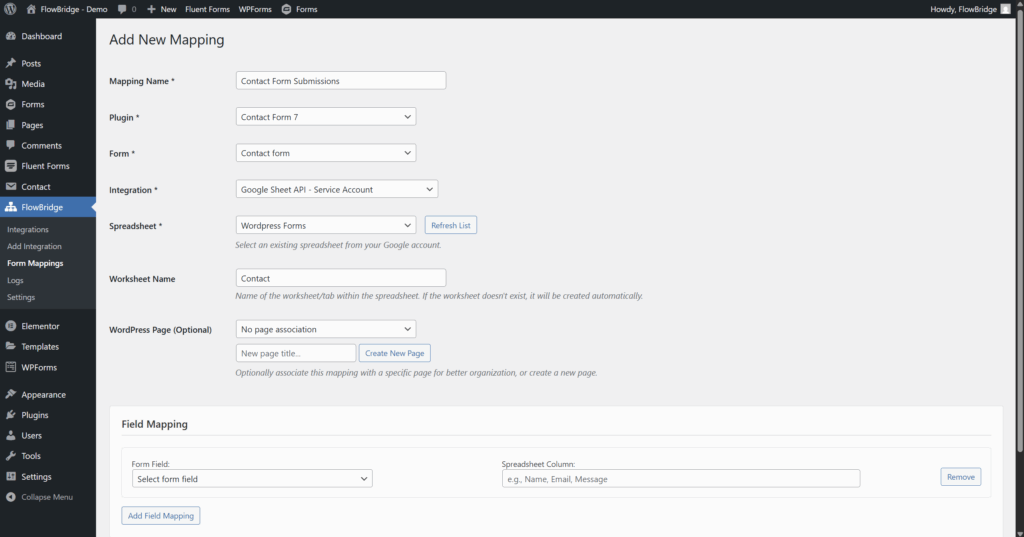
Step 3: Add Field Mappings
- Scroll to the Field Mapping section.
- Click Add Field Mapping for each field you want to send to Google Sheets.
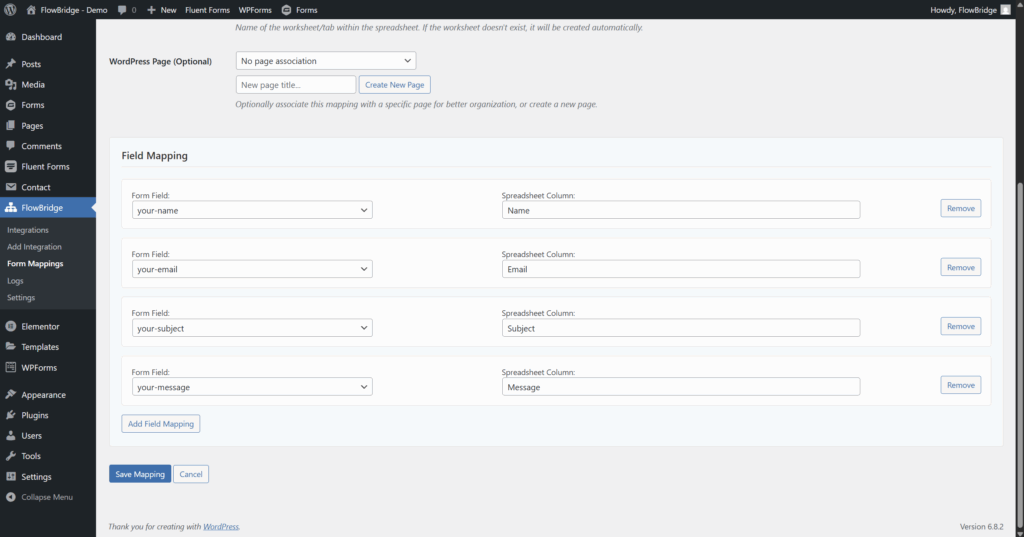
- For each mapping:
- Form Field – Select the Contact Form 7 field (e.g.,
your-name,your-email) - Spreadsheet Column – Enter the column name you want to have created in your spreadsheet
- Form Field – Select the Contact Form 7 field (e.g.,
Step 4: Save and Test
- Click Save Mapping.
- Open your Contact Form 7 form on your site.
- Submit a test entry.
- Check your Google Sheet.
- Your form data should appear in the correct columns.
- Note: If you’re using a queue, it may take a few minutes for it to appear.
Contact Form 7 – Demo
Why Use FlowBridge for CF7 → Google Sheets?
- Instant or queued sending – Choose what fits your workflow
- Full control – Map only the fields you want
- No coding required – Just point, click, and save
- Secure integration – Uses Google’s Service Account for data transfer